There’s something satisfying about roasting your own peanuts at home. It’s a simple act, but it transforms a humble ingredient into a smoky, nutty treasure that no store-bought bag can quite match.
I’ve always loved the ritual of roasting peanuts, especially when I want that deep, roasted aroma filling the kitchen. It’s a process that rewards patience—waiting for the shells to crackle and that rich scent to seep into the air.
Plus, once you get the hang of it, it’s almost impossible to go back to those bland, pre-packaged versions. Making your own adds a layer of craft and intimacy to a snack that’s often overlooked as just a quick bite.
Focusing on the overlooked art of roasting peanuts at home to unlock deep, smoky flavors that store-bought varieties can’t match, turning a simple snack into a culinary ritual.
The story behind this recipe
- One rainy afternoon, I found a bag of peanuts at the back of my pantry, forgotten but still good. The aroma that wafted up when I started roasting them brought back childhood afternoons spent in my grandmother’s kitchen, cracking shells and savoring that earthy, smoky scent. It struck me how such a simple act—roasting—can turn a plain peanut into something almost magical, full of depth and warmth.
- That day, I realized how much I missed those small, quiet moments of transforming ingredients with just a little heat and patience. Roasting peanuts isn’t just about flavor—it’s about reclaiming a bit of that slow, mindful joy that gets lost in our busy lives. It’s a humble ritual, but one that feels like a small, rewarding victory every time.
- heading
- story_type
Ingredient breakdown: key components
- Raw peanuts: I love using unsalted, fresh peanuts—they crackle and pop as they roast, releasing a rich, earthy aroma. Swap in salted if you prefer a seasoned snack, but be mindful of added salt.
- Olive oil: Just a light spray or toss helps the shells turn a glossy, darker hue. If you skip it, the shells can become a bit drier, but the flavor stays pure—consider using a neutral oil like grapeseed for a milder taste.
- Salt: I prefer flaky sea salt for its crunchy texture and bright burst. If you want a milder flavor, reduce the salt or try smoked paprika for a smoky twist.
- Optional spices: A pinch of chili powder or cumin can add warmth. I like to sprinkle these after roasting for a fresh, vibrant hit—avoid adding too early to prevent burning.
- Cooling rack: Essential for letting the peanuts rest and crisp up after roasting. Without it, the steam can make them soggy, so give them a few minutes to cool and dry out properly.
- Baking sheet: I use a sturdy, rimmed sheet to keep the peanuts in a single layer. Avoid overcrowding—more space means more even roasting and better color development.
- Oven temperature: I set mine to 180°C (350°F); it’s just hot enough to develop a deep, roasted flavor without burning. Keep an eye on the first batch to adjust if needed.
Spotlight on key ingredients
Peanuts:
- Raw peanuts: I love using unsalted, fresh peanuts—they crackle and pop as they roast, releasing a rich, earthy aroma. Swap in salted if you prefer a seasoned snack, but be mindful of added salt.
- Olive oil: Just a light spray or toss helps the shells turn a glossy, darker hue. If you skip it, the shells can become a bit drier, but the flavor stays pure—consider using a neutral oil like grapeseed for a milder taste.
- Salt: I prefer flaky sea salt for its crunchy texture and bright burst. If you want a milder flavor, reduce the salt or try smoked paprika for a smoky twist.
Additional seasonings and tools:
- Optional spices: A pinch of chili powder or cumin can add warmth. I like to sprinkle these after roasting for a fresh, vibrant hit—avoid adding too early to prevent burning.
- Cooling rack: Essential for letting the peanuts rest and crisp up after roasting. Without it, the steam can make them soggy, so give them a few minutes to cool and dry out properly.
Notes for ingredient swaps
- Dairy-Free: Skip butter or dairy-based oils. Use neutral oils like grapeseed or avocado for a clean, mild flavor.
- Salt: Use Himalayan pink salt or flavored salts like smoked or garlic salt to add a different dimension, but be mindful of intensity.
- Spices: Swap chili powder for smoked paprika or cumin for a different warmth. Fresh herbs like rosemary can also add brightness after roasting.
- Oil: Replace olive oil with neutral oils like sunflower or canola if you prefer a subtler taste that doesn’t compete with the peanuts’ natural flavor.
- Sweetness: For a touch of sweetness, sprinkle a little brown sugar or honey before roasting—just watch for burning in the oven.
- Add-ins: Mix in dried herbs or a dash of soy sauce after roasting for extra flavor, but keep it light to avoid sogginess.
- Peanuts: If you prefer a different nut, try roasted almonds or cashews, but roasting times and temperatures may vary slightly.
Equipment & Tools
- Rimmed baking sheet: Contains the peanuts and prevents spills during roasting.
- Cooling rack: Allows steam to escape, keeping peanuts crisp after roasting.
- Spatula or tongs: Helps stir or turn peanuts during roasting.
Step-by-step guide to roasting peanuts
- Preheat your oven to 180°C (350°F). Use a rimmed baking sheet; it helps prevent spills and ensures even roasting.
- Spread the raw peanuts in a single layer on the baking sheet. Keep them spaced out; overcrowding causes uneven color.
- Place the sheet in the oven and roast for about 15-20 minutes. Every 5 minutes, give the peanuts a good shake or stir.
- Watch for color changes—peanuts should turn a deep golden brown, with shells crackling and a toasty aroma filling the kitchen.
- Around 15 minutes, start checking regularly. If they smell smoky or crackle loudly, they’re close. If over-torched, they turn bitter; remove immediately.
- Once roasted, transfer the peanuts to a cooling rack. Let them rest for at least 10 minutes, allowing excess steam to escape and shells to crisp.
- If desired, sprinkle with flaky sea salt or your favorite spices while still warm. Toss gently to coat evenly.
- After cooling, peel or enjoy shells on for a rustic snack. Store in an airtight container for up to a week.
Let the peanuts rest on the cooling rack for at least 10 minutes. Finish with a sprinkle of salt or spices. Serve warm or at room temperature. Store in an airtight container for up to a week.
How to Know It’s Done
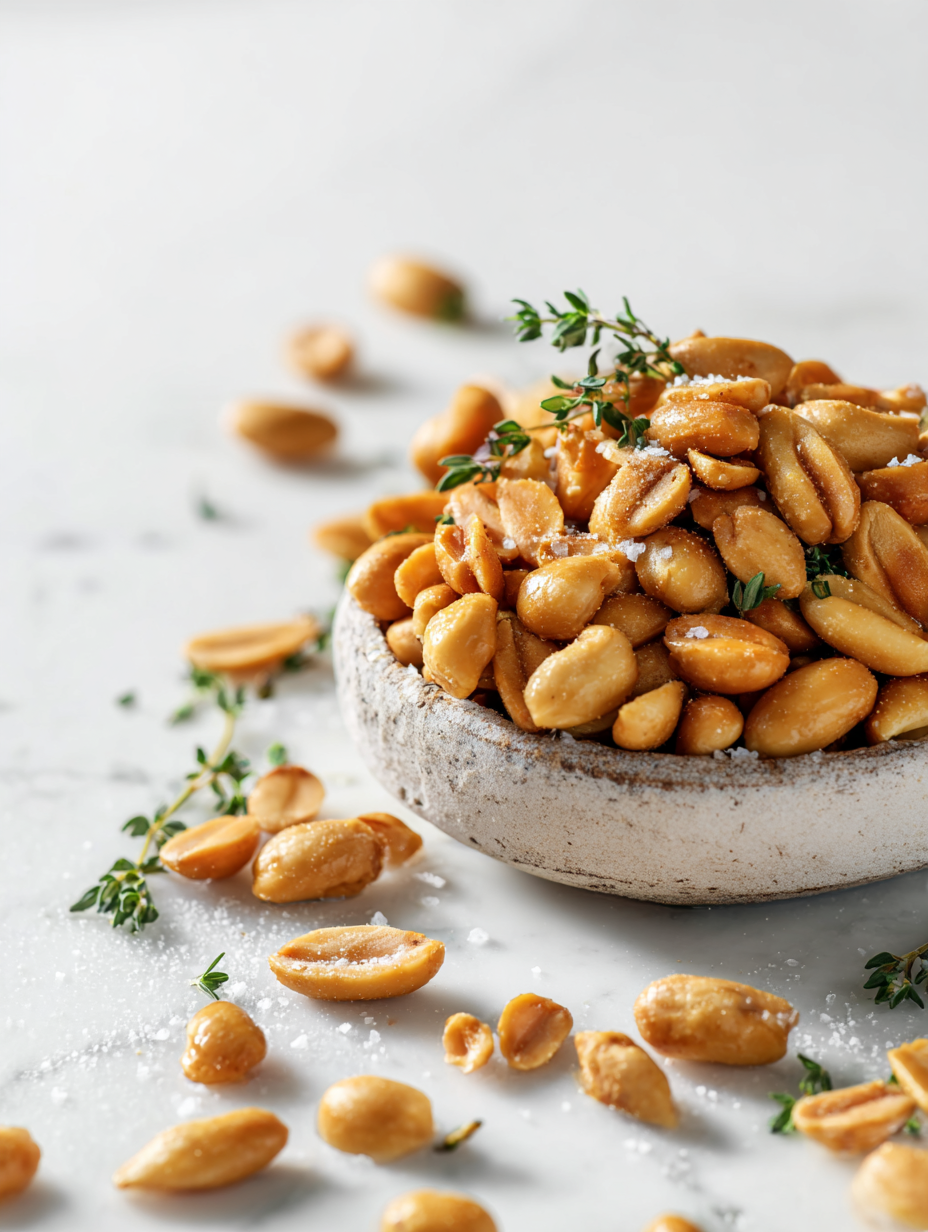
- Peanuts are golden-brown with a rich, toasty aroma.
- Shells crackle loudly during roasting, indicating proper heat.
- Peanuts feel firm yet slightly crisp when pressed after cooling.
Homemade Roasted Peanuts
Ingredients
Equipment
Method
- Preheat your oven to 180°C (350°F) and line a rimmed baking sheet with parchment paper for easy cleanup.
- Spread the raw peanuts evenly in a single layer on the prepared baking sheet, making sure they aren’t overcrowded so they roast evenly.
- Place the sheet in the oven and roast for about 15-20 minutes, shaking or stirring the peanuts every 5 minutes to promote even browning and prevent burning. You’ll notice the shells crackle, and the aroma will turn rich and toasty.
- Once the peanuts are golden brown and smell deeply roasted, remove the baking sheet from the oven and transfer the peanuts immediately to a cooling rack to stop the cooking process and allow steam to escape.
- While still warm, sprinkle the peanuts with flaky sea salt and gently toss or stir to distribute the seasoning evenly. This helps enhance their flavor and adds a satisfying crunch.
- Let the peanuts cool completely on the rack for at least 10 minutes, allowing the shells to crisp up fully. Once cooled, enjoy them as a crunchy, smoky snack or store in an airtight container for up to a week.
Notes
Tips & Tricks for Perfect Roasted Peanuts
- Bolded mini-head: Use a hot pan → Ensures peanuts crackle and develop a deep, smoky aroma quickly.
- Bolded mini-head: Shake frequently → Keeps peanuts evenly roasted and prevents burning on one side.
- Bolded mini-head: Watch for color → Turn peanuts once they reach a rich golden hue to avoid bitter over-roasting.
- Bolded mini-head: Cool on a rack → Prevents steam buildup, keeping shells crisp and peanuts crunchy.
- Bolded mini-head: Add salt after roasting → Keeps salt from drawing out moisture and preserves crunch.
- Bolded mini-head: Use parchment paper → Makes cleanup easier and prevents sticking, especially if oil is used.
- Bolded mini-head: Keep an eye on smell → A toasted, nutty scent signals perfect doneness, don’t wait too long.
Common roasting mistakes and solutions
- FORGOT to preheat the oven → Always preheat for even roasting.
- DUMPED peanuts into cold oven → Roast peanuts in a hot oven for better flavor.
- OVER-TOASTED peanuts → Remove when they turn a deep golden hue, not dark brown.
- SKIPPED cooling rack → Use one to keep peanuts crisp and prevent sogginess.
Quick Fixes and Pantry Swaps
- If smoke appears, splash with a little water to quell flames.
- When peanuts are unevenly roasted, toss and rotate for even color.
- Patch soggy peanuts by spreading on a baking sheet and re-roasting briefly.
- DUMPED too much salt? Rinse quickly under cold water and dry thoroughly before roasting.
- When shells crackle loudly, remove from oven immediately to prevent bitterness.
Prep, store, and reheat tips
- Peanuts can be roasted a day ahead; store in an airtight container at room temperature. They stay crisp and fragrant for up to 3 days.
- For longer storage, keep roasted peanuts in the fridge for up to a week or freeze for 1 month. Seal tightly to prevent moisture absorption.
- The flavor deepens slightly after resting overnight, developing a richer, smokier aroma. Expect a more intense nuttiness and crunch.
- Reheat in a dry skillet over low heat for 2-3 minutes, shaking often. Look for a shimmer and crackle, with a warm, toasted scent filling the air.
Top questions about roasted peanuts
1. How do I choose good peanuts for roasting?
Look for peanuts with intact shells and no signs of mold or shriveling. Freshness is key for best flavor.
2. What’s the ideal oven temperature and time?
Roast at 180°C (350°F) for 15-20 minutes, shaking every 5 minutes. They’re done when golden and aromatic.
3. How do I know when they’re roasted perfectly?
Peanuts are ready when they turn deep golden, crackle loudly, and smell rich and toasty. Cool on a rack before eating.
4. Can I skip the oil?
Yes, adding a light spray of oil helps shells turn glossy and enhances flavor, but it’s optional if you prefer a drier snack.
5. How should I store roasted peanuts?
Store cooled peanuts in an airtight container at room temperature for up to 3 days, or refrigerate for longer shelf life.
6. Can I scale the recipe up or down?
Yes, you can roast smaller batches or larger ones; just keep the same temperature and adjust roasting time slightly.
7. What sensory cues indicate they’re ready?
Peanuts tend to release a smoky aroma when nearing doneness. Watch for a deep color and loud crackling sounds.
8. What should I do if I overcook them?
If shells become too dark or bitter, remove from oven immediately and cool. Over-roasting leaves a burnt taste.
9. How do I prevent soggy peanuts?
To avoid sogginess, cool peanuts on a wire rack and store in a dry container. Add salt or spices after cooling.
10. How do I reheat roasted peanuts?
Roasted peanuts can be reheated in a dry skillet over low heat for a few minutes until warm and fragrant.
Roasted peanuts hold a quiet charm, turning an everyday snack into something richer and more satisfying. The smoky aroma and crunch remind me of simple pleasures and slow afternoons in the kitchen.
Once you get comfortable with the process, it’s a small, honest ritual that always delivers a burst of flavor and texture. No matter how often I make them, each batch still feels like a little victory, a reminder of the joy in small, tangible skills.

Welcome to Exploreing New Tastes. I’m really glad you found your way here. I’m a food blogger driven by curiosity more than perfection. I think about flavors constantly, how they change across cultures, how a small tweak can completely shift a dish, and how food tells stories long before anyone sits down to eat. This blog is where I document that curiosity, one recipe and one experience at a time.