I’ve always loved the idea of turning something as humble as a beet into a show-stopping dish. It’s a way to celebrate the root vegetable’s earthy sweetness while adding a splash of unexpected color to the plate. When I first made this, I was chasing a way to make gnocchi feel more rooted in the season, more alive on the tongue.
Why this gnocchi keeps calling me back
The vivid color, the earthy aroma, and the gentle chew of this gnocchi make it more than just a meal. It’s the kind of dish that feels like a small adventure, a way to reconnect with simple ingredients in a chaotic world. Every batch reminds me that good food is about patience, a little chaos, and honest flavors.
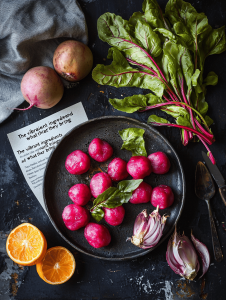
The vibrant ingredients and what they bring
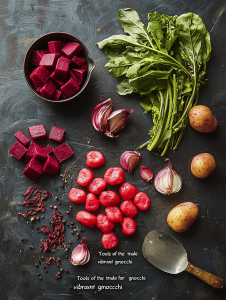
- Beets: Earthy, sweet, and vividly red; the star of the dish that transforms color and flavor.
- Flour: Gives structure and lightness; all-purpose works, but you can try einkorn for a nuttier twist.
- Garlic: Adds a fragrant kick—must be fresh for maximum punch.
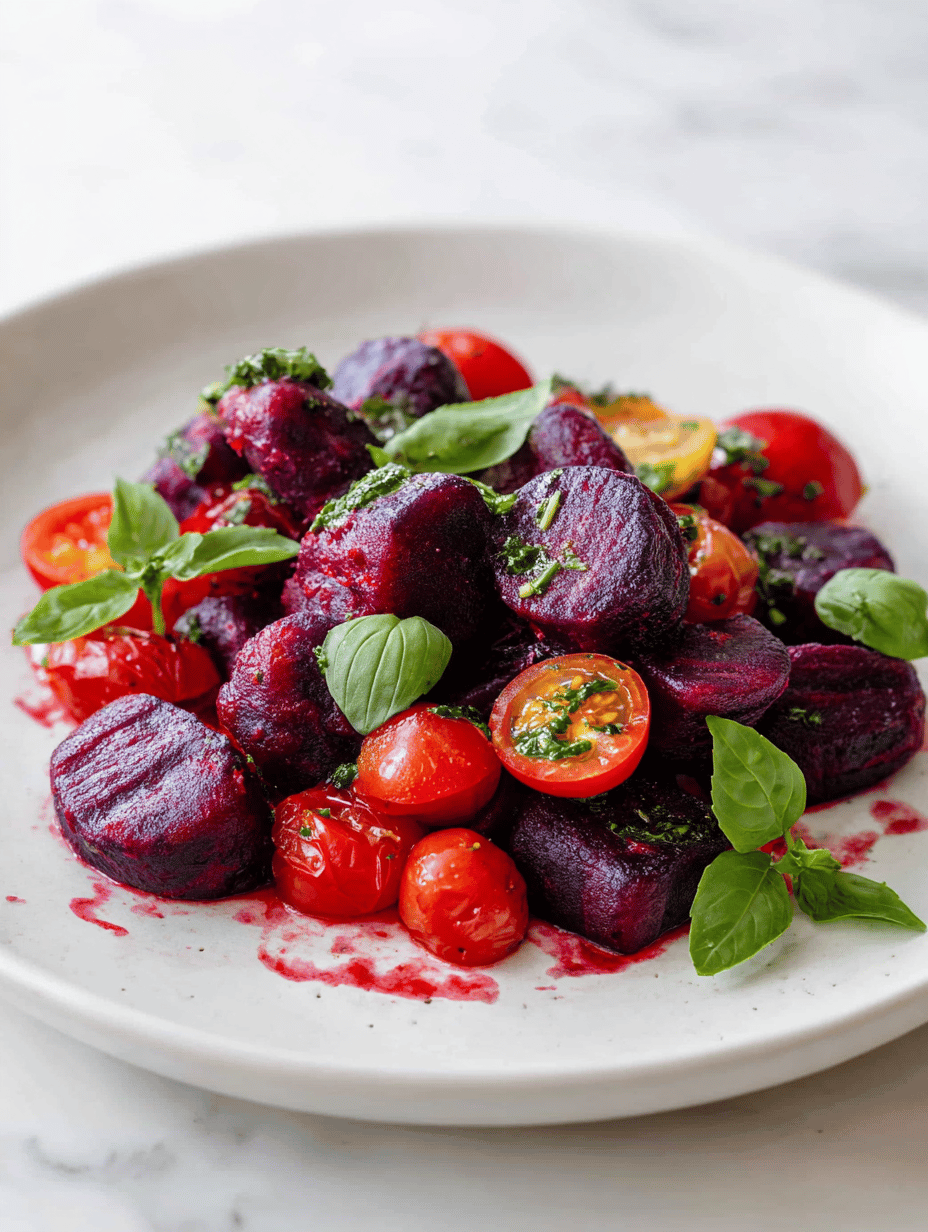
- Cherry tomatoes: Sweet and slightly smoky when cooked, balancing the earthiness of beets.
- Basil and balsamic: Fresh herbs and tangy vinegar finish the dish with brightness and depth.
- Goat cheese or pine nuts: Optional toppings that add creaminess or crunch, elevating each bite.
Tools of the trade for vibrant gnocchi
- Oven: Roasts the beets evenly to bring out their deep sweetness.
- Blender or food processor: Purees the beets into a smooth, vibrant base for the dough.
- Large pot: Boils the gnocchi quickly and efficiently.
- Fork: Imprints ridges on gnocchi, helping sauce cling.
- Skillet: Cooks the sauce and finishes the gnocchi with flavor.
Step-by-step for silky, earthy beet gnocchi
Step 1: Preheat your oven to 200°C (390°F). Wrap 2 large beets in foil, roast for about 45-50 minutes until tender. Let them cool slightly.
Step 2: Peel the beets — their vivid red juice will stain everything, so wear an apron.
Step 3: Puree the beets in a blender until smooth, then measure out 1 cup of pureed beet for the dough.
Step 4: In a large bowl, combine 1 ½ cups of all-purpose flour, ½ teaspoon of salt, and the beet puree. Mix until a dough forms.
Step 5: Turn the dough onto a floured surface. Gently knead until smooth — avoid overworking to keep gnocchi tender.
Step 6: Divide the dough into 4 portions. Roll each into a long rope about 2cm (0.8 inches) thick.
Step 7: Cut the ropes into 2cm (0.8 inch) pieces. To shape, gently roll each piece over a fork to imprint ridges.
Step 8: Bring a large pot of salted water to a boil. Drop the gnocchi in, one batch at a time.
Step 9: Cook for about 2-3 minutes, or until they float to the surface, indicating they’re done.
Step 10: Remove with a slotted spoon, and set aside while you prepare the sauce.
Step 11: For the sauce, heat 2 tablespoons of olive oil in a pan over medium heat. Add 2 cloves minced garlic, cook until fragrant.
Step 12: Toss in a handful of cherry tomatoes, cook until they burst, about 3 minutes.
Step 13: Add the cooked gnocchi, toss gently to coat, then finish with a sprinkle of fresh basil and a drizzle of balsamic vinegar.
Step 14: Serve immediately, garnished with crumbled goat cheese or toasted pine nuts if desired.
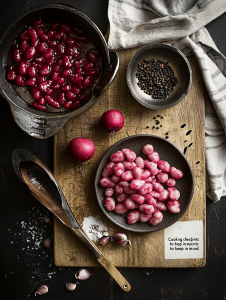
Cooking checkpoints to keep in mind
- Gnocchi should be tender and slightly firm, not mushy or falling apart.
- Water must be boiling vigorously before adding gnocchi; they cook faster and more evenly.
- Sauce should shimmer and cling to gnocchi without pooling — adjust heat if necessary.
- Be mindful not to over-knead the dough, which makes gnocchi dense rather than light.
Common pitfalls and how to dodge them
- Dough too sticky? If the gnocchi fall apart, your dough may be too soft. Add a little more flour.
- Over-kneading the dough? If the gnocchi are gummy, too much kneading is to blame. Knead just until combined.
- Cooking sauce at too high a heat? If the sauce separates, use a gentle heat and toss the gnocchi quickly to coat.
- Getting stained by beet juice? If the beets stain your hands, wear gloves. Wash hands with lemon juice afterward to remove stains.

Vibrant Beet Gnocchi with Cherry Tomato Sauce
Ingredients
Equipment
Method
- Preheat your oven to 200°C (390°F). Wrap the beets in foil and roast for about 45-50 minutes until they are tender when pierced with a fork. Allow them to cool slightly before handling.

- Peel the roasted beets, carefully handling them to avoid staining your hands. The skin should come off easily, revealing their vivid red interior.

- Cut the peeled beets into chunks and puree them in a blender or food processor until smooth. Measure out one cup of beet puree and set aside.

- In a large mixing bowl, combine the beet puree with the salt and gradually add the flour. Mix gently with a spoon or your hands until a soft, slightly sticky dough forms.
- Turn the dough onto a lightly floured surface and knead gently just until it comes together smoothly—avoid overworking to keep the gnocchi tender.
- Divide the dough into four equal parts. Roll each portion into a long rope about 2 cm (0.8 inches) thick.
- Cut each rope into 2 cm (0.8 inch) pieces. Gently press each piece over a fork to imprint ridges, which help sauces cling beautifully.
- Bring a large pot of salted water to a vigorous boil. Carefully drop the gnocchi in batches, cooking until they float to the surface, about 2-3 minutes. Use a slotted spoon to remove them and set aside.
- Heat the olive oil in a skillet over medium heat. Add the minced garlic and cook until fragrant, about 30 seconds, filling your kitchen with a warm aroma.
- Add the cherry tomatoes to the skillet and cook until they burst and release their juices, about 3 minutes, creating a bright, slightly smoky sauce.
- Gently toss the cooked gnocchi into the skillet, coating them with the tomato and garlic mixture. Finish with chopped fresh basil and a drizzle of balsamic vinegar for brightness.
- Serve immediately, garnished with crumbled goat cheese or toasted pine nuts if desired. Enjoy the vibrant colors and earthy flavors of this seasonal dish!