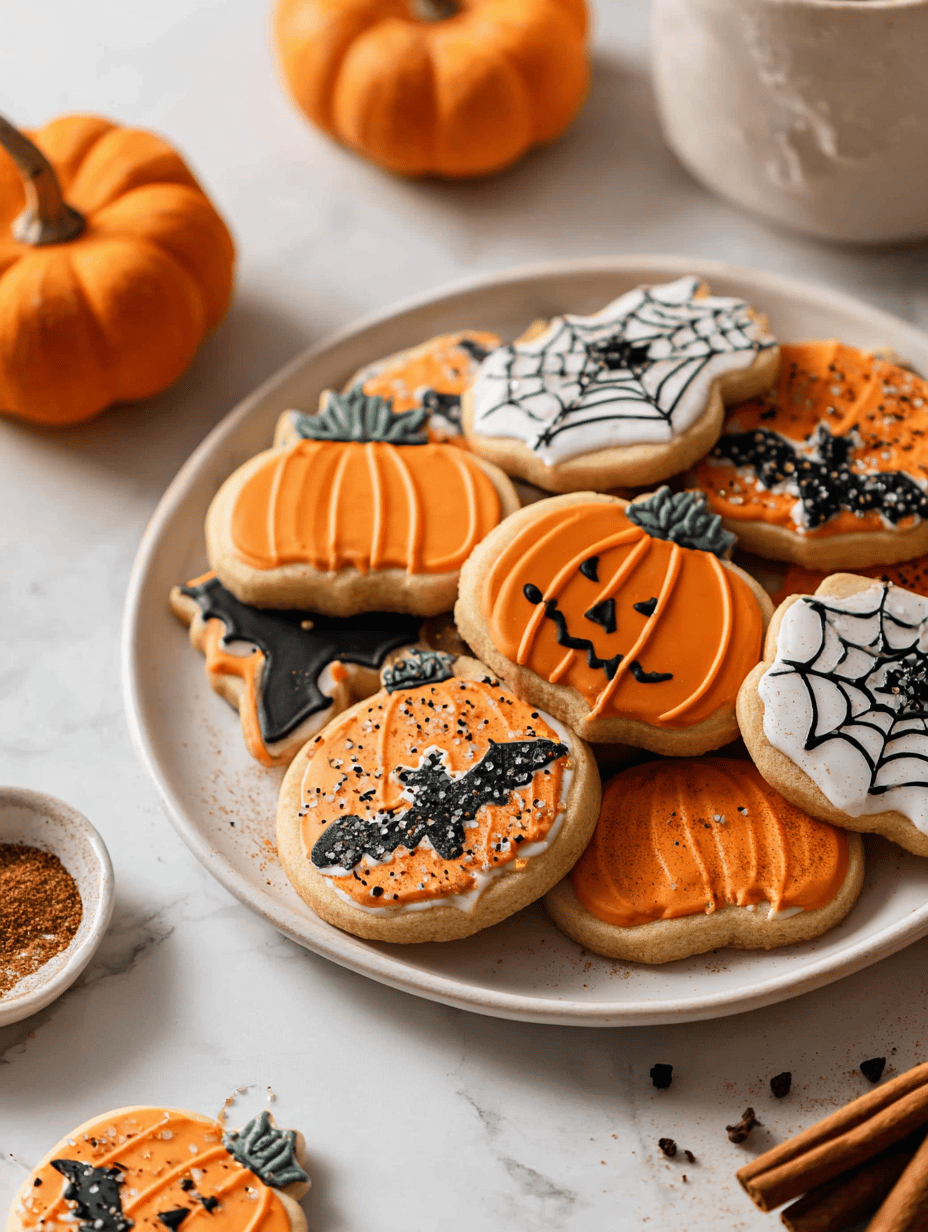
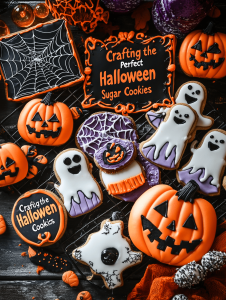
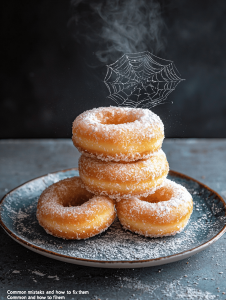
Halloween is the only time I embrace a little chaos in the kitchen. These sugar cookies are a playful way to channel that energy, with a punch of spices that remind me of autumn walks and pumpkin patches. They’re simple enough for kids to decorate and fancy enough to serve at your spooky gathering.
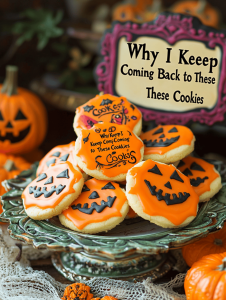
Why I Keep Coming Back to These Cookies
They capture the essence of autumn, with just enough spice to feel cozy but not overwhelming. Making them sparks a sense of nostalgia and chaos, in the best way. Plus, decorating these cookies is a messy, joyful reminder that perfection isn’t necessary. Every batch feels like a small celebration of the season.
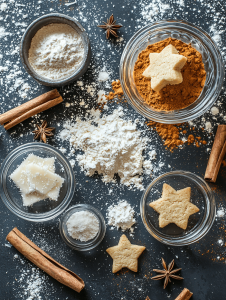
Breaking Down the Spiced Ingredient Lineup
- Butter: I use unsalted, softened. It provides richness and helps the dough hold together. Swap with margarine for a dairy-free version.: Creamy, slightly sweet, melts in your mouth.
- Sugar: Regular granulated sugar works, but brown sugar adds a caramel note. Adjust sweetness to taste.: Sweet, with a subtle molasses aroma.
- Egg: Binds everything together and adds structure. Use a room temp egg for easier mixing.: Rich and slightly runny before mixing.
- Flour: All-purpose is standard, but cake flour yields softer cookies. Sift for lightness.: Provides the base structure.
- Spices: Cinnamon, nutmeg, and a hint of ginger bring warmth. Feel free to tweak quantities.: Oozy warmth and aromatic depth.
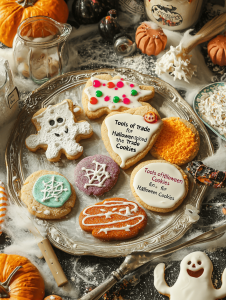
Tools of the Trade for Spiced Halloween Cookies
- Rolling pin: To roll out the dough evenly.
- Cookie cutters: To shape the cookies into fun Halloween motifs.
- Baking sheet: To hold the cookies during baking.
- Parchment paper: To prevent sticking and make cleanup easier.
- Cooling rack: To cool cookies evenly after baking.
Crafting the Perfect Halloween Sugar Cookies
Step 1: Preheat your oven to 180°C (350°F).
Step 2: In a large bowl, cream together 1 cup softened butter and 1 cup sugar until light and fluffy.
Step 3: Add 1 large egg and 1 teaspoon vanilla extract; mix until combined.
Step 4: In a separate bowl, whisk together 2 ½ cups all-purpose flour, 1 teaspoon baking powder, ½ teaspoon ground cinnamon, and a pinch of nutmeg.
Step 5: Gradually add the dry ingredients to the wet, mixing just until incorporated.
Step 6: Divide dough into two halves, wrap in plastic, and chill for at least 1 hour.
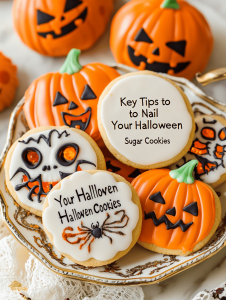
Key Tips to Nail Your Halloween Sugar Cookies
- Ensure butter is softened but not melted for easy creaming.
- Chill dough thoroughly to prevent spreading during baking.
- Use a lightly floured surface for rolling to avoid sticking.
- Watch baking time closely—edges should turn a light golden brown.
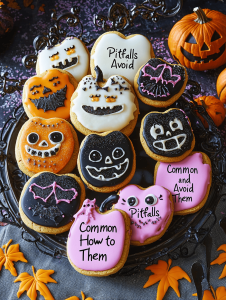
Common Pitfalls and How to Avoid Them
- Dough is too sticky to roll.? Use cold butter, not melted, for better dough consistency.
- Cookies spread too much in the oven.? Chill dough longer if it’s too soft to work with.
- Cookies are hard or burnt.? Keep an eye on baking time and remove when edges are lightly golden.

Spiced Halloween Sugar Cookies
Ingredients
Equipment
Method
- In a large mixing bowl, combine the softened butter and sugar. Use a mixer to beat until the mixture is light, fluffy, and has a creamy texture, about 2-3 minutes.

- Add the egg and vanilla extract to the bowl. Mix well until the mixture is smooth, fragrant, and slightly airy.

- In a separate bowl, whisk together the sifted flour, baking powder, cinnamon, nutmeg, and ginger until evenly combined.
- Gradually add the dry ingredients to the wet mixture, mixing on low speed or folding until just combined and the dough begins to come together.

- Divide the dough in half, shape each into a flat disk, wrap tightly in plastic wrap, and refrigerate for at least 1 hour to relax the gluten and make rolling easier.

- Preheat your oven to 180°C (350°F). Line your baking sheet with parchment paper to prevent sticking.
- Remove one dough disk from the fridge. Lightly flour a clean surface and your rolling pin. Roll out the dough to about ¼ inch thickness, aiming for an even, smooth surface.
- Use Halloween cookie cutters to cut out fun shapes from the rolled dough. Transfer the cutouts carefully to the prepared baking sheet.
- Bake in the preheated oven for 10-12 minutes, or until the edges are just turning a light golden brown and the cookies are set.
- Once baked, remove the cookies from the oven and let them cool on the baking sheet for 5 minutes. Then transfer them to a cooling rack to cool completely and set their shape.
- Enjoy these beautifully spiced Halloween cookies decorated with icing or sprinkles, or serve them plain for a cozy autumn treat.