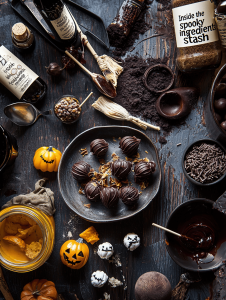
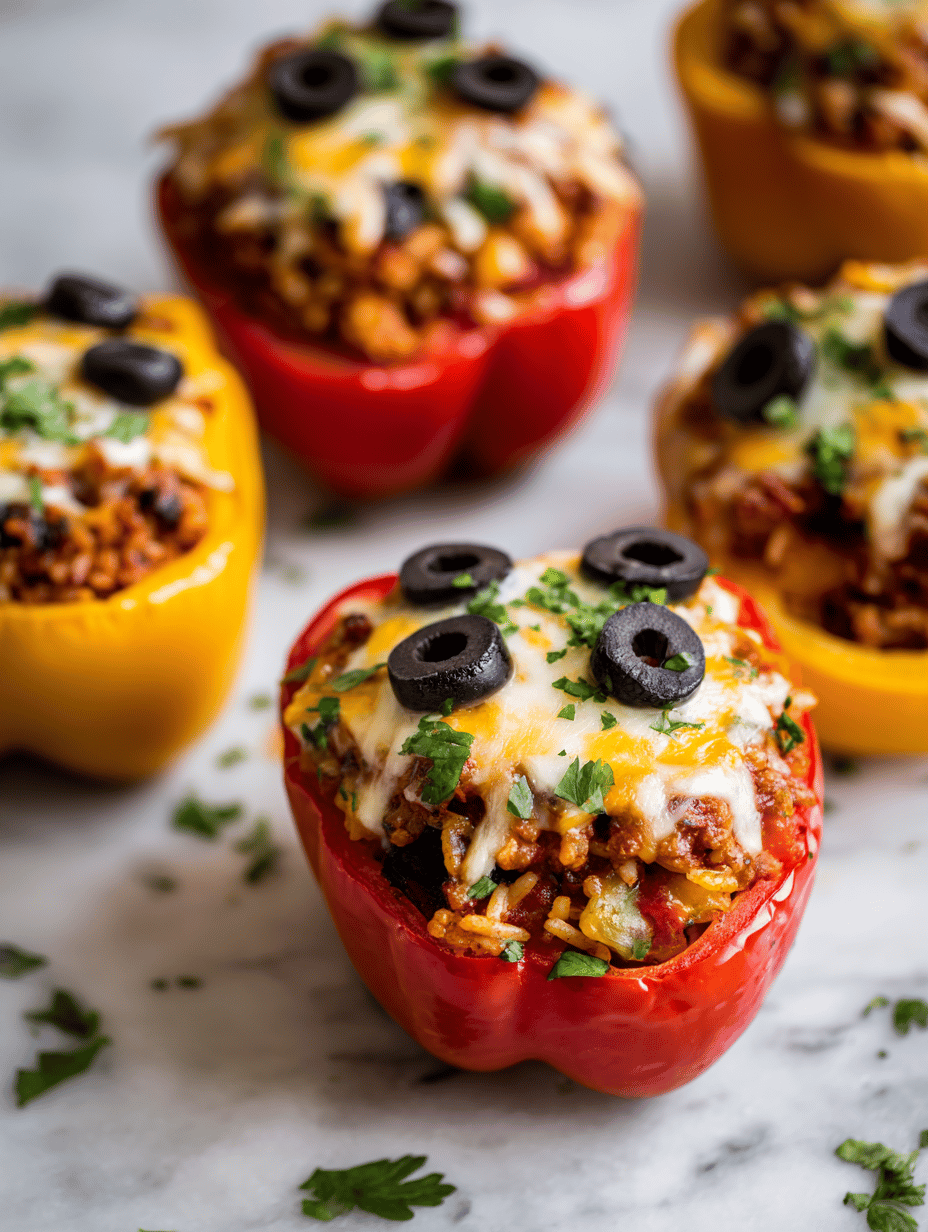
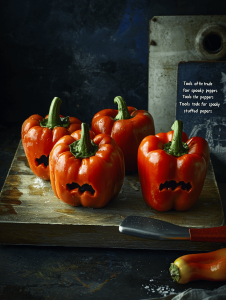
I love the idea of turning everyday ingredients into something unexpectedly festive. These spooky stuffed peppers are a nod to Halloween but in a way that’s totally edible and satisfying. I’ve played with the filling a lot—sometimes adding spicy chorizo, other times keeping it veggie-friendly—and they always surprise me.
Why I keep returning to this recipe
It’s flexible, forgiving, and always feels slightly festive. The way the cheese melts into the filling, creating gooey pockets, makes each bite a little celebration. Plus, it’s easy enough to whip up during busy nights but special enough to serve to guests. Every time I make this, I find a new way to tweak the fillings or toppings, keeping it fresh and exciting.
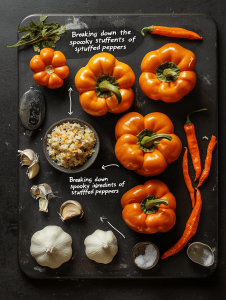
Breaking down the ingredients of spooky stuffed peppers
- Bell peppers: Colorful and sturdy, they hold all the filling and add a sweet crunch.
- Ground meat or lentils: Adds heartiness; swap with cooked quinoa for a vegetarian version.
- Cooked rice or grains: Gives structure; brown rice adds nuttiness, jasmine offers aroma.
- Onions and garlic: Build flavor; sauté until fragrant, about 5 minutes.
- Cheese (cheddar, mozzarella): Melty and gooey topping; choose sharp or mild based on taste.
- Herbs (parsley, cilantro): Fresh brightness; add at the end for a herbal punch.
- Paprika and spices: Smoky, warm notes that bring the dish to life.
Tools of the trade for spooky stuffed peppers
- Chef’s knife: For cutting tops and scooping out seeds.
- Sauté pan: To cook the filling ingredients.
- Baking dish: Holds the peppers while they bake.
- Spoon or piping bag: To stuff the peppers neatly.
- Oven thermometer (optional): To ensure oven temperature accuracy.
Step-by-step guide to creating your spooky stuffed peppers
Step 1: Preheat your oven to 190°C (375°F).
Step 2: Cut the tops off the peppers and scoop out seeds carefully.
Step 3: In a pan, sauté diced onions and garlic until translucent, about 5 minutes.
Step 4: Mix cooked rice, ground meat, and chopped herbs into the sautéed veggies.
Step 5: Stuff the peppers with the filling, pressing down gently.
Step 6: Place the peppers upright in a baking dish. Top with shredded cheese and a sprinkle of paprika.
Step 7: Bake for 35-40 minutes until peppers are tender and cheese is bubbly and golden.
Step 8: Let rest for 5 minutes before serving. Garnish with fresh herbs if desired.
Cooking checkpoints to ensure perfection
- Peppers should be tender when pierced with a fork—test after 35 minutes.
- Cheese should be melted and slightly browned—adjust baking time if needed.
- Filling should be hot all the way through—use a thermometer to check 75°C (165°F).
- The edges of the peppers might char slightly—pull them out early if they start to blacken excessively.
Common mistakes and how to fix them
- Squished peppers when slicing.? Use a sharp knife to cut peppers to avoid squashing.
- Cheese and tops burning before peppers are tender.? Adjust oven rack if peppers brown too quickly.
- Soggy, watery stuffing.? Make sure filling is not too wet.
- Under or overcooked peppers.? Bake at the right temperature.
Spooky Stuffed Peppers
Ingredients
Equipment
Method
- Preheat your oven to 190°C (375°F) and prepare a baking dish.
- Using a sharp chef’s knife, cut the tops off the bell peppers and carefully scoop out all seeds and membranes, creating a hollow cavity for the filling.
- In a sauté pan, heat a splash of oil over medium heat and sauté diced onions and minced garlic until fragrant and translucent, about 5 minutes. You’ll notice a lovely aroma and the onions turning slightly golden.
- Add the ground meat or lentils to the pan, breaking it apart with a spoon, and cook until browned or heated through, about 7-8 minutes. Stir in chopped herbs and spices, then remove from heat.
- Mix the cooked rice into the filling mixture until evenly combined. This creates a hearty and flavorful stuffing with a nice balance of textures.
- Using a spoon or piping bag, stuff each hollowed pepper with the filling, pressing down gently to pack it in without overflowing.
- Place the stuffed peppers upright in the baking dish, then sprinkle shredded cheese evenly over each top and dust with paprika for a festive touch.
- Bake in the preheated oven for 35-40 minutes until the peppers are tender when pierced with a fork, and the cheese is bubbling and golden brown on top. The aroma of melted cheese and roasted peppers will fill your kitchen.
- Once baking is complete, remove the dish from the oven and let the peppers rest for about 5 minutes. The cheese will set slightly, making them easier to serve.
- Garnish with additional chopped herbs if desired, then serve hot, enjoying the gooey cheese and flavorful filling with a slight char on the edges of the peppers.