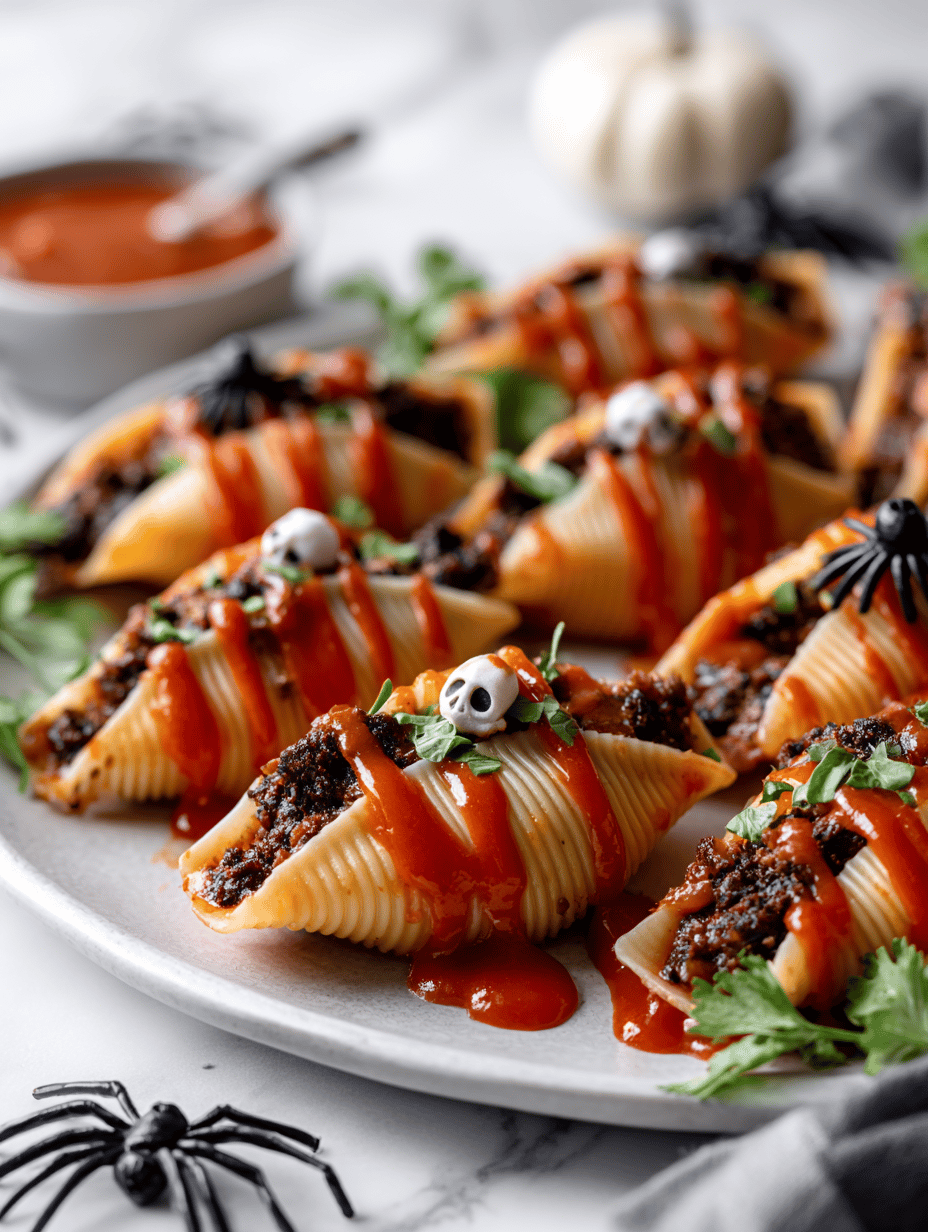
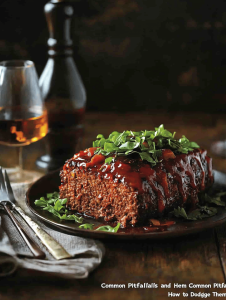
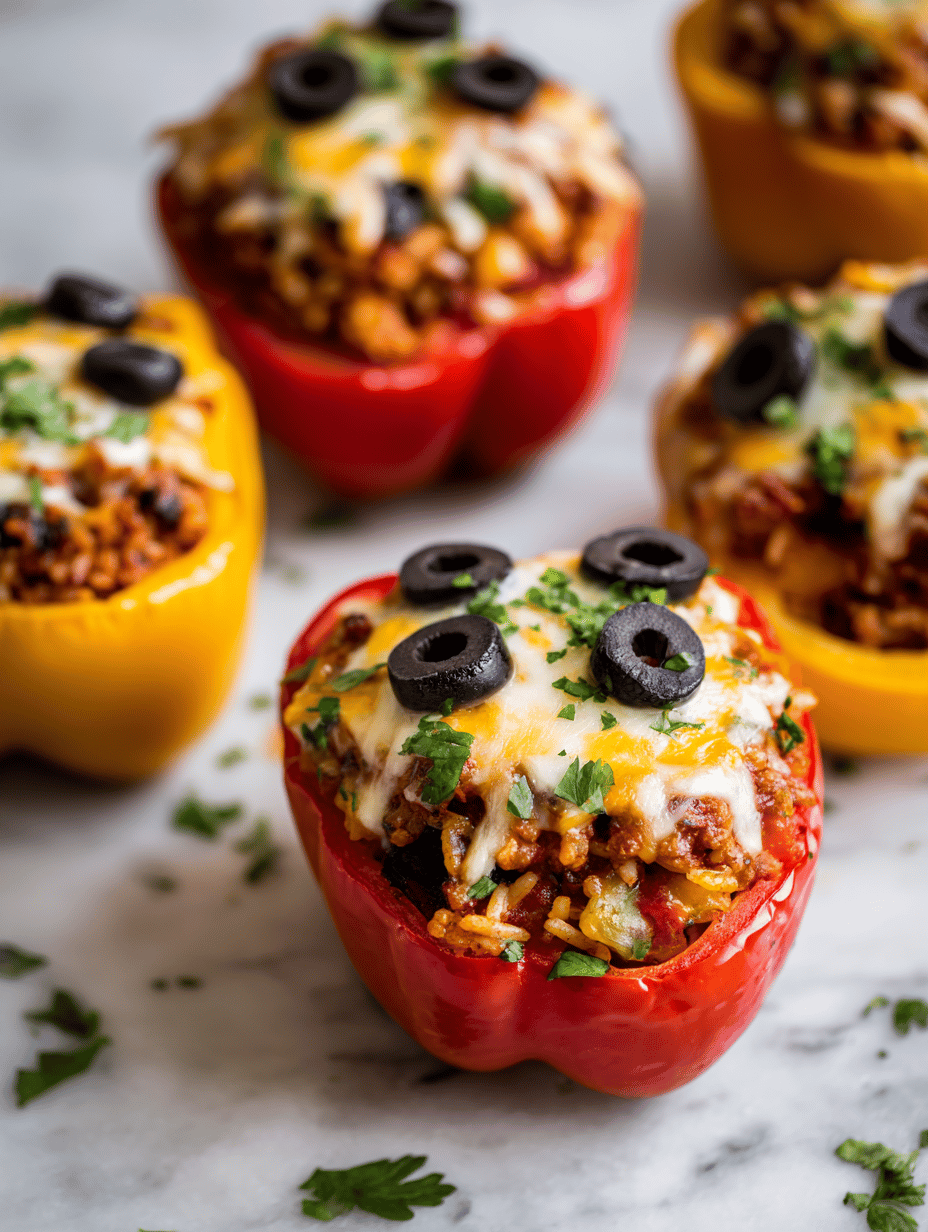
There’s a certain thrill in turning comfort food into something a little darker, a little more mischievous. These creepy stuffed shells started as a simple family recipe but got a spooky upgrade, perfect for a Halloween gathering or just a night when you want to surprise your taste buds. They’re cheesy, smoky, and have just enough chaos to keep things interesting.
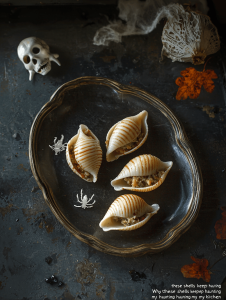
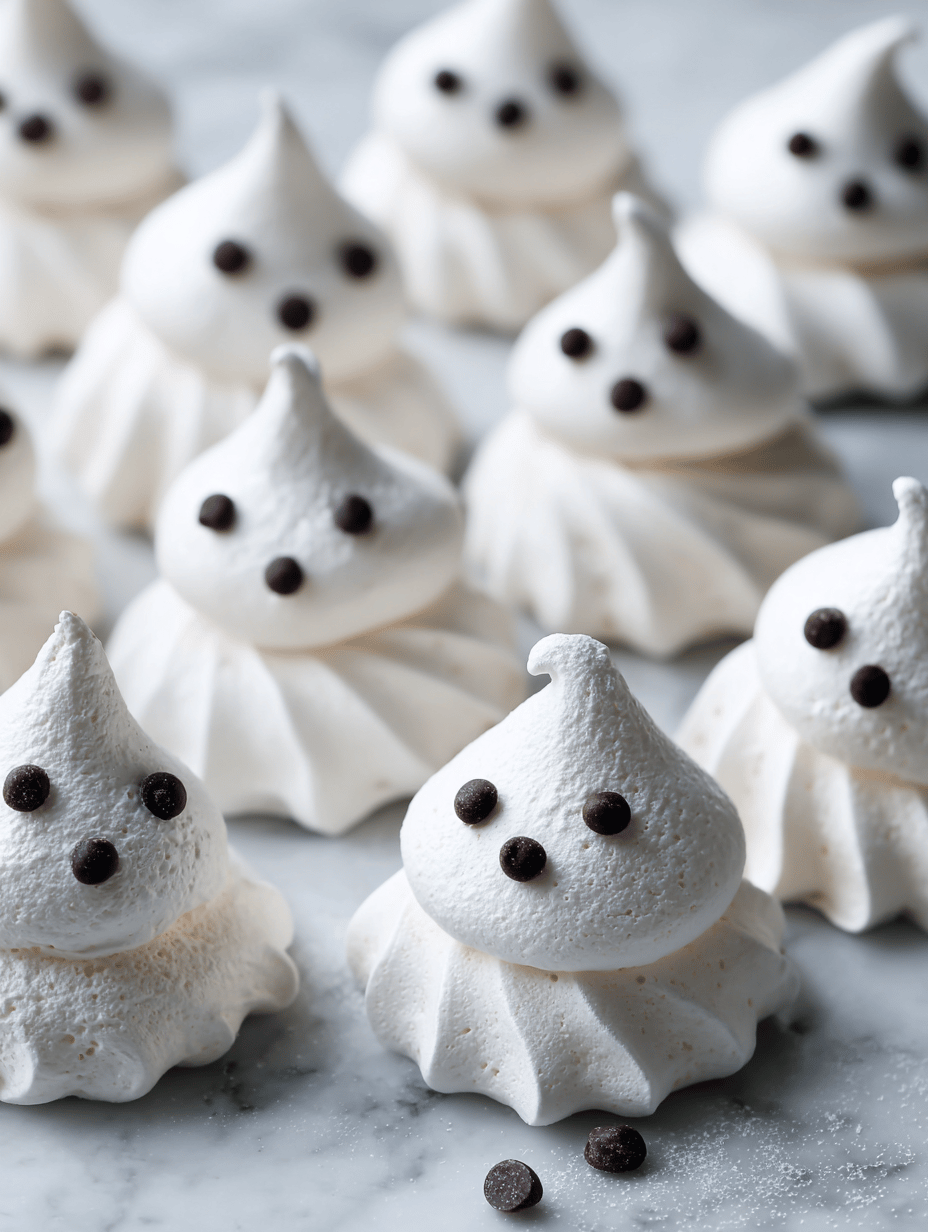
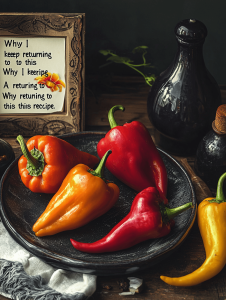
Why these shells keep haunting my kitchen
They’re surprisingly forgiving, and the smoky, cheesy flavors hit just right. I love how each batch feels like a small rebellion, especially with the spooky toppings. Plus, they’re perfect for making ahead and reheating, which makes them a real lifesaver for busy nights.
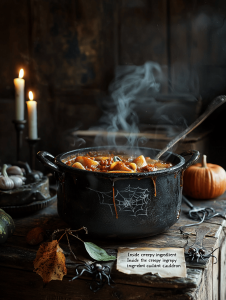
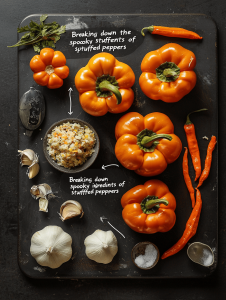
Inside the creepy ingredient cauldron
- Ricotta cheese: Creamy and mild, it holds the filling together—use cottage cheese as a budget-friendly swap.
- Mozzarella cheese: Oozy and stretchy, essential for that gooey, cheesy top—swap for provolone if you like a sharper bite.
- Spinach: Adds a pop of green and earthy flavor; frozen works fine, just squeeze out excess water.
- Marinara sauce: The base of our creepy potion—look for a rich, thick variant for better coating.
- Black olives: Mottled, spooky garnish—substitute with roasted red peppers for a less salty vibe.
- Nutmeg: A pinch adds warmth—skip if you prefer a cleaner flavor.
- Smoked paprika: Brings smoky depth, essential for the creepy undertone—try chipotle powder for more punch.
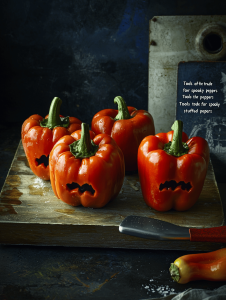
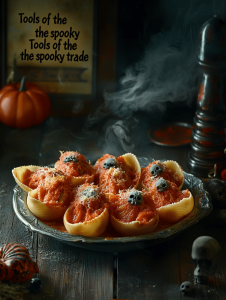
Tools of the spooky trade
- Large pot: Boiling pasta shells
- Mixing bowls: Combining fillings and sauces
- Baking dish: Baking the stuffed shells
- Spoon or piping bag: Stuffing the shells
- Aluminum foil: Covering the dish during baking
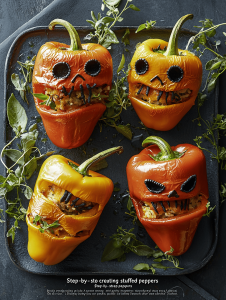
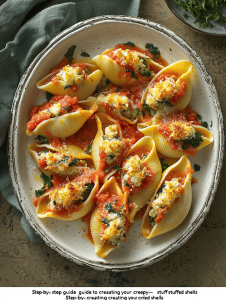
Step-by-step guide to creating your creepy stuffed shells
Step 1: Preheat your oven to 180°C (350°F).
Step 2: Cook the pasta shells in boiling salted water for about 8 minutes, until al dente. Drain and set aside.
Step 3: While pasta cooks, prepare the filling: in a bowl, mix ricotta, shredded mozzarella, chopped spinach, and a pinch of nutmeg.
Step 4: Stuff each shell generously with the cheesy mixture, then place them snugly in a baking dish.
Step 5: In a separate bowl, combine marinara sauce with a splash of balsamic vinegar and a dash of smoked paprika.
Step 6: Pour the sauce over the stuffed shells, making sure they are fully covered.
Step 7: Sprinkle extra mozzarella and a few slices of black olives on top for that creepy, mottled look.
Step 8: Cover the dish with foil and bake for 25-30 minutes. Remove foil in the last 10 minutes for a bubbly, golden top.
Step 9: Let the shells rest for 5 minutes out of the oven to settle.
Step 10: Serve hot, garnished with chopped fresh basil or parsley.
Step 11: Enjoy the odd, smoky flavors and gooey textures that make each bite a little spooky.
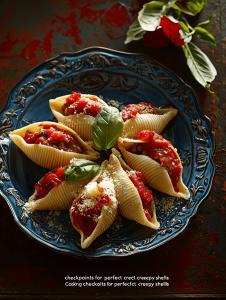
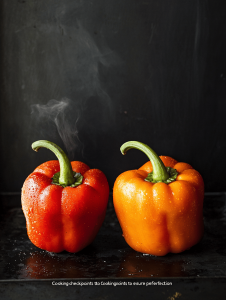
Cooking checkpoints for perfect creepy shells
- Shells should be just al dente, not mushy, to hold the filling without falling apart.
- Sauce should be bubbling around the edges, not just spooned over.
- Top should be golden and bubbly, with slightly charred edges for that creepy effect.
- The filling should be creamy and firm enough to hold when scooped, not runny.
- Oven temperature must stay steady at 180°C (350°F) for even cooking.
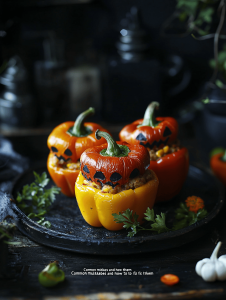
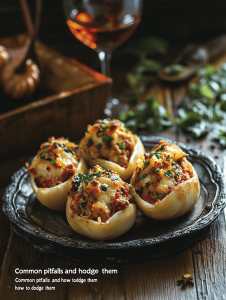
Common pitfalls and how to dodge them
- Shells sticking or cracking during boiling.? Use enough water and salt so shells don’t stick or break.
- Sauce bubbling over or burning.? Remove foil carefully to avoid splattering hot sauce.
- Uneven cheese melting or shells drying out.? Check for even stuffing and coverage to prevent dry spots.
- Shells turning mushy or cheese burning.? Bake just until bubbly and golden, not overcooked.

Creepy Stuffed Shells
Ingredients
Equipment
Method
- Bring a large pot of salted water to a boil, then add the pasta shells and cook for about 8 minutes, until al dente. Drain and set aside, listening for the gentle bubbling and watching the shells become tender but firm.

- In a mixing bowl, combine ricotta cheese, shredded mozzarella, thawed spinach, and a pinch of nutmeg. Mix thoroughly until the mixture is creamy and well blended, with a slightly fluffy texture.

- Using a spoon or piping bag, stuff each cooked shell generously with the cheese mixture, pressing slightly to fill completely. Place the stuffed shells snugly in a baking dish, arranging them in an even layer.
- In a separate bowl, stir together marinara sauce with smoked paprika and a splash of balsamic vinegar, creating a smoky, dark potion that will coat the shells beautifully.
- Pour the smoky marinara sauce evenly over the stuffed shells, ensuring each shell is fully covered and ready to bake into bubbling, flavorful goodness.

- Sprinkle extra mozzarella cheese on top, followed by sliced black olives arranged to mimic mottled, spooky spots. Cover the dish tightly with aluminum foil.
- Bake in a preheated oven at 180°C (350°F) for 25 to 30 minutes, until the sauce is bubbling around the edges. Remove the foil during the last 10 minutes to allow the top to turn golden and bubbly, with slightly charred bits for that creepy effect.
- Once baked, carefully remove the dish from the oven and let it rest for about 5 minutes. This helps the flavors settle and the cheese set, making it easier to serve.
- Garnish with chopped fresh basil or parsley for a splash of color, then serve hot to reveal the gooey, smoky, and spooky flavors that will delight your senses.