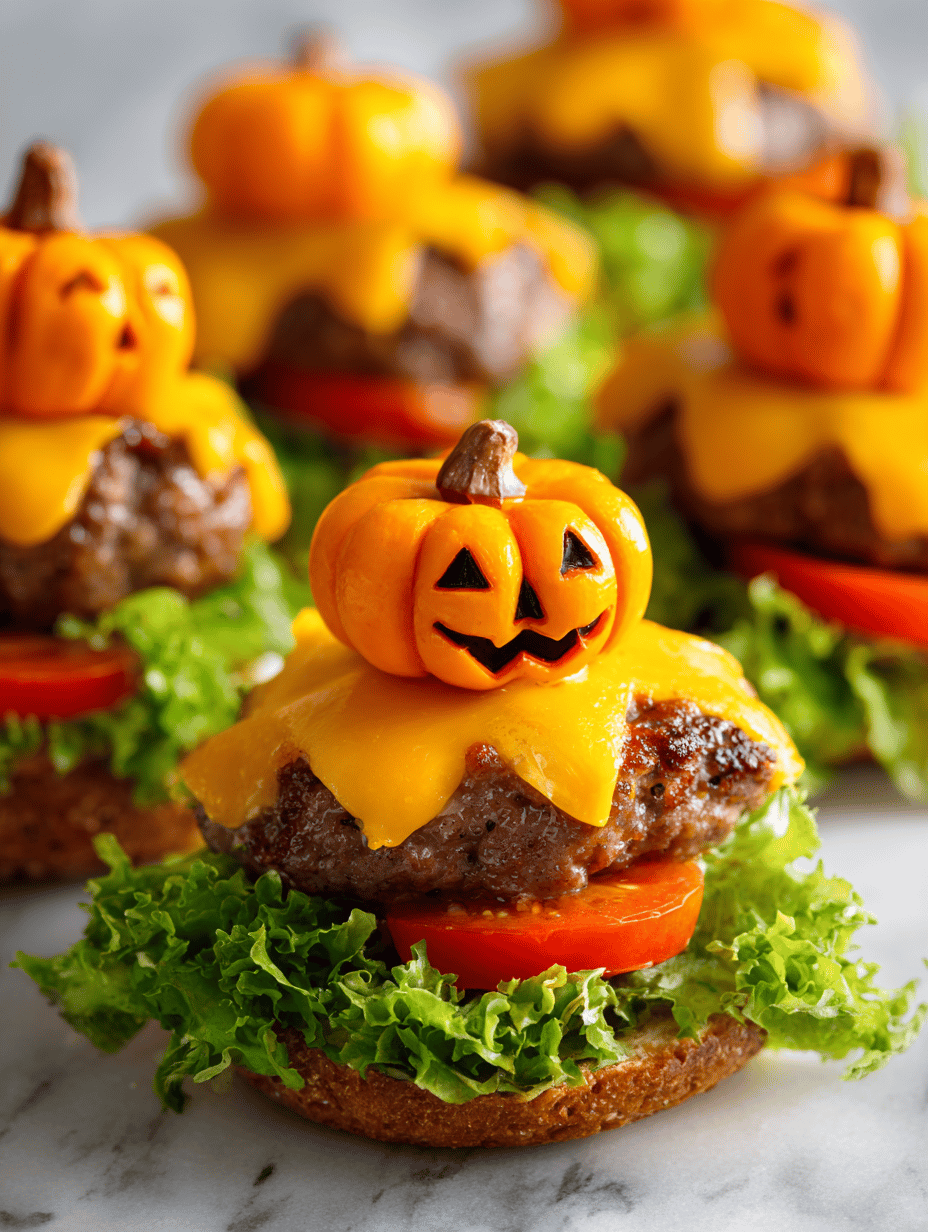
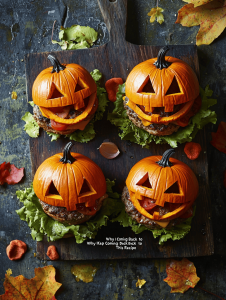
Fall is filled with cozy, nostalgic flavors, and I love twisting classic dishes into festive treats. Jack o’ Lantern Burgers bring a playful edge to the table, perfect for Halloween or a simple fall dinner. The secret is roasting seasonal veggies right into the burger for smoky sweetness and a bit of fun.
Why I Keep Coming Back to This Recipe
This burger captures the essence of fall with its warm, roasted flavors and playful presentation. It’s a hit at gatherings, sparks joy in the kitchen, and brings a cozy, festive spirit to any table. I keep making it because it’s easy to customize and always a conversation starter.
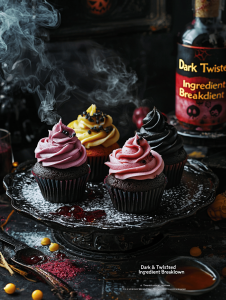
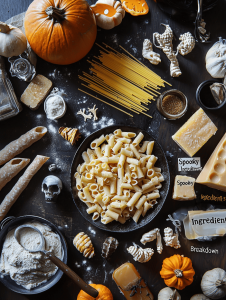
Breaking Down the Flavors and Ingredients
- Ground beef — “I like a mix of chuck and brisket for richness.” → Swap in turkey or plant-based patties for a different vibe.: The juicy base that holds everything together with a savory, hearty flavor.
- Pumpkin slices — “Sweet, tender, with a smoky edge after roasting.” → Use butternut squash if pumpkin isn’t available.: Adds a seasonal sweetness and a soft texture that contrasts the beef.
- Cheese (optional) — “Melted, gooey, slightly salty.” → Cheddar or pepper jack for extra flavor.: Melts over the hot patties, sealing in moisture and adding richness.
- Spicy aioli — “Creamy with a fiery kick.” → Use sriracha or chipotle mayo for depth.: A punchy condiment that balances the sweetness of pumpkin.
- Burger buns — “Soft, toasted, perfect for holding everything.” → Brioche buns add a buttery touch.: The vehicle for all the flavors, must be sturdy but tender.
- Greens — “Fresh, crisp, a little bitter.” → Arugula or spinach for a peppery note.: Adds a fresh crunch that cuts through the richness.
- Seasonings — “Salt, pepper, maybe smoked paprika for extra depth.” → Adjust to taste.: Enhances the natural flavors and adds a smoky hue.
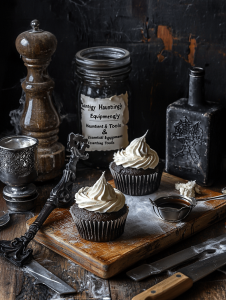
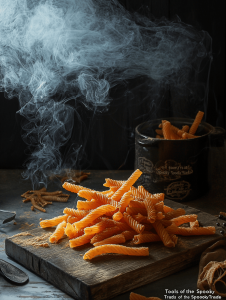
Tools of the Trade for Perfect Burgers
- Grill or skillet: To cook the beef patties evenly with a good sear.
- Baking sheet: For roasting pumpkin slices to sweet, caramelized perfection.
- Tongs: To handle hot ingredients without squishing or burning.
- Spatula: To flip the patties and toast the buns.
- Knife and cutting board: Chopping and slicing veggies neatly.
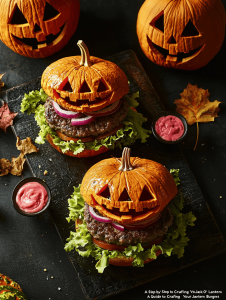
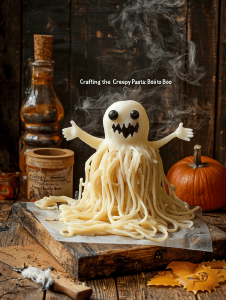
A Step-by-Step Guide to Crafting Your Jack O’ Lantern Burgers
Step 1: Preheat your grill or skillet to medium-high, about 200°C (390°F).
Step 2: Slice the pumpkin or butternut squash into thin, even rounds. Roast in the oven at 180°C (355°F) for 20-25 minutes until caramelized.
Step 3: While veggies roast, form the beef patties, season generously with salt and pepper.
Step 4: Cook the patties on the grill or skillet for about 4 minutes per side, until browned and juices run clear.
Step 5: In the last minute, toast the burger buns cut-side down until golden.
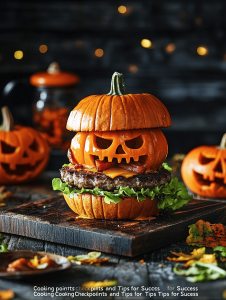
Step 6: Assemble the burgers: place a patty on the bun, add roasted pumpkin, a slice of cheese if you like, then top with leafy greens.
Step 7: Finish with a dollop of spicy aioli or your favorite sauce, then cap with the top bun.
Cooking Checkpoints and Tips for Success
- Ensure the pumpkin slices are evenly cut for uniform roasting.
- Watch the burger patties carefully to avoid overcooking or undercooking.
- Toast the buns until just golden—too dark and they become bitter.
- Use a meat thermometer to confirm the patties reach 71°C (160°F).
- Keep an eye on the cheese melting—about 30 seconds after placing it on the hot patty.
Common Mistakes and How to Fix Them
- Cooking by sight alone can be misleading.? UNDER-COOKED PATTIES — Use a meat thermometer to ensure 71°C (160°F).
- Buns become soggy if added too early or exposed to moisture.? SOGGY BUNS — Toast buns lightly to keep them crisp.
- Over-salting can overpower the delicate pumpkin flavor.? OVERSALTED PATTIES — Season meat gradually, tasting as you go.
- Dry pumpkin loses its rich, sweet flavor.? DRY PUMPKIN — Roast until just tender, don’t overdo it.

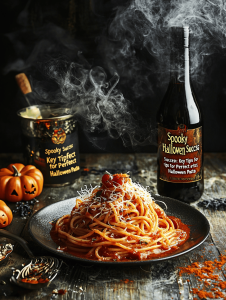
Jack O’ Lantern Burgers
Ingredients
Equipment
Method
- Preheat your oven to 180°C (355°F). Slice the pumpkin into thin, even rounds and arrange them on a baking sheet lined with parchment paper. Roast for 20-25 minutes until the edges are caramelized and the slices are tender, filling your kitchen with a sweet, toasted aroma.
- While the pumpkin roasts, form the ground beef into four equal patties, about 3/4 inch thick. Season generously with salt, pepper, and smoked paprika, then gently press a small indentation in the center of each to prevent bulging during cooking.

- Heat a grill or skillet over medium-high heat until hot. Place the beef patties on the grill and cook for about 4 minutes per side, or until well browned and cooked through, with a meat thermometer reading 71°C (160°F). During the last minute, place the buns cut-side down on the grill to toast until golden and slightly crispy.
- Once the pumpkin slices are roasted, carefully remove them from the oven and set aside. If using cheese, place a slice on each hot beef patty during the last 30 seconds of cooking to allow it to melt beautifully.
- Spread a generous dollop of spicy aioli on the bottom half of each toasted bun. Layer with fresh greens, followed by a beef patty topped with a melted cheese slice if desired, and a roasted pumpkin slice. Add more aioli if you like a spicy kick, then cap with the top bun.
- Serve the Jack O’ Lantern Burgers immediately, enjoying the warm, smoky flavors and festive presentation that makes fall dinners special.