Skip to content
Exploreing new tastes
Main Course
Desserts
Appetizers
Beverages
Side Dishes
Soups
Salads
Pinterest
Search
Toggle Menu
Main Course
Main Course
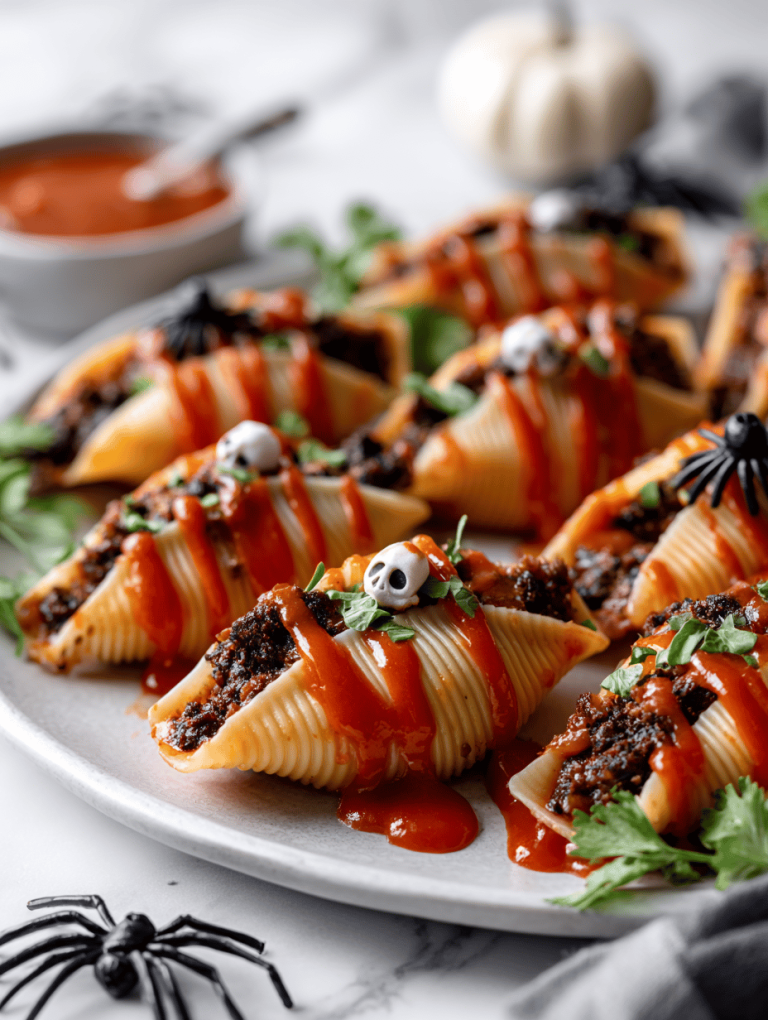
Creepy Stuffed Shells: A Savory, Spooky Twist on Comfort Food
Main Course
Creepy Stuffed Shells: A Savory, Spooky Twist on Comfort Food
Main Course
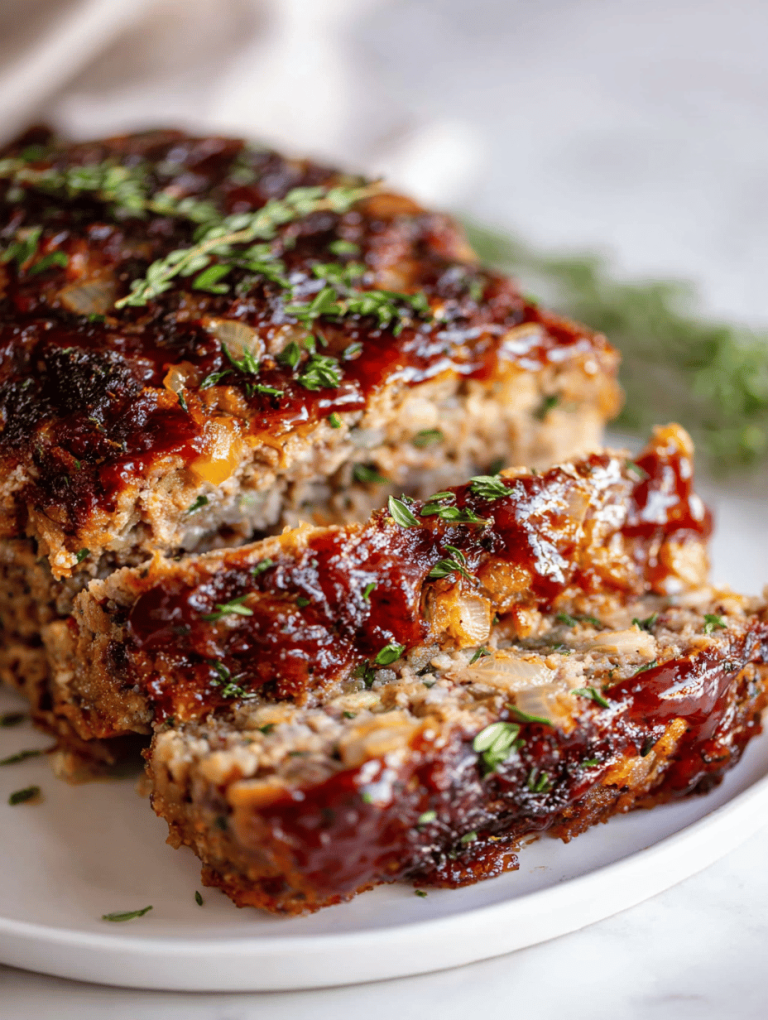
Monster Meatloaf: A Chewy, Charred, and Unapologetically Bold Feast
Main Course
Monster Meatloaf: A Chewy, Charred, and Unapologetically Bold Feast
Main Course
Monster Meatloaf: A Chewy, Charred, and Unapologetically Bold Feast
Main Course
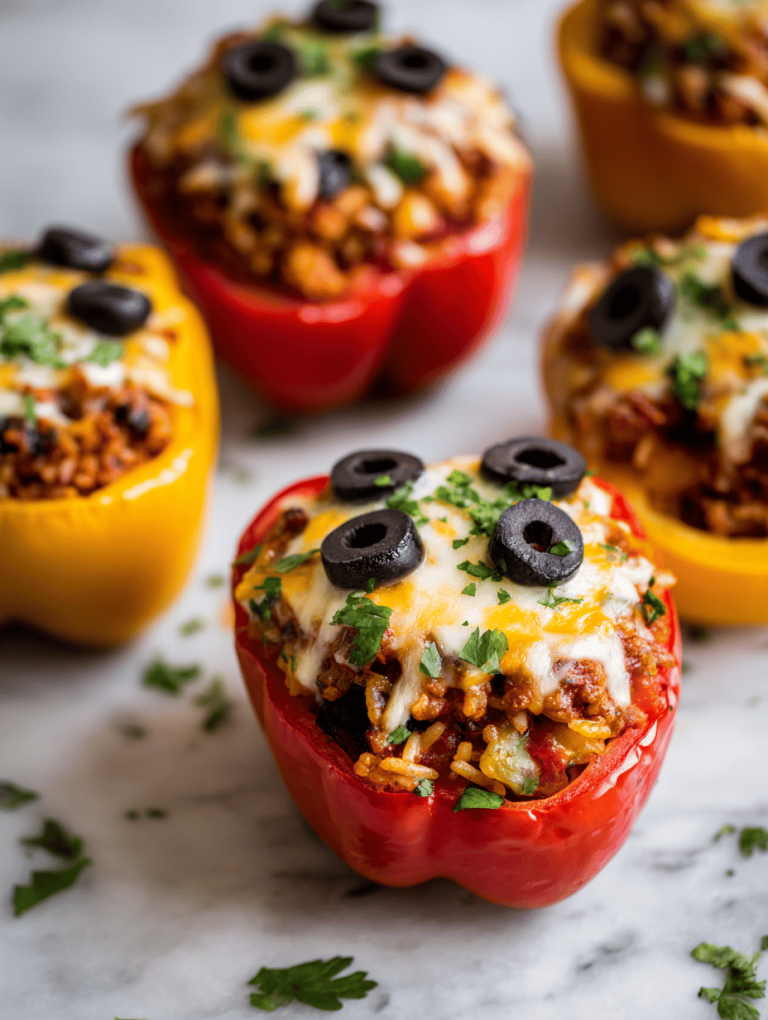
Spooky Stuffed Peppers: A Haunted Twist on Comfort Food
Main Course
Spooky Stuffed Peppers: A Haunted Twist on Comfort Food
Main Course
Spooky Stuffed Peppers: A Haunted Twist on Comfort Food
Main Course
Mummy Hot Dogs: Nostalgia Wrapped in a Crispy Crust
Main Course
Mummy Hot Dogs: Nostalgia Wrapped in a Crispy Crust
Page navigation
Previous Page
Previous
1
…
4
5
6
7
8
9
Next Page
Next
Scroll to top
Scroll to top
Main Course
Desserts
Appetizers
Beverages
Side Dishes
Soups
Salads
Toggle Menu Close
Search for:
Search