Skip to content
Exploreing new tastes
Main Course
Desserts
Appetizers
Beverages
Side Dishes
Soups
Salads
Pinterest
Search
Toggle Menu
Appetizers
Appetizers
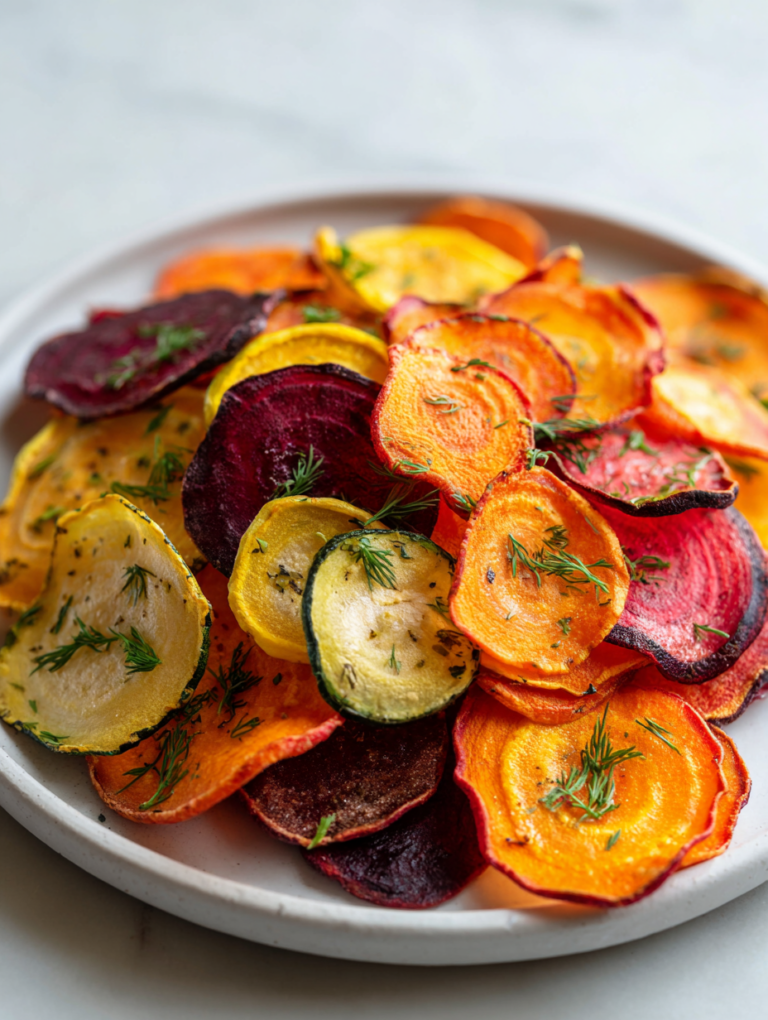
Baked Veggie Chips Recipe
Appetizers
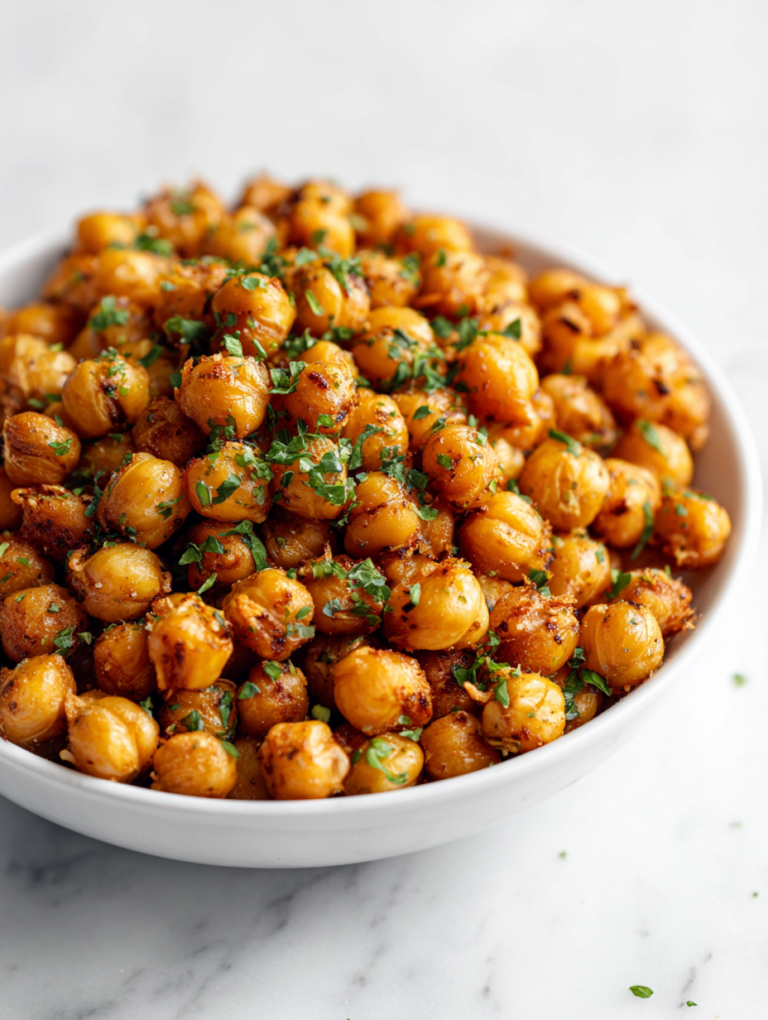
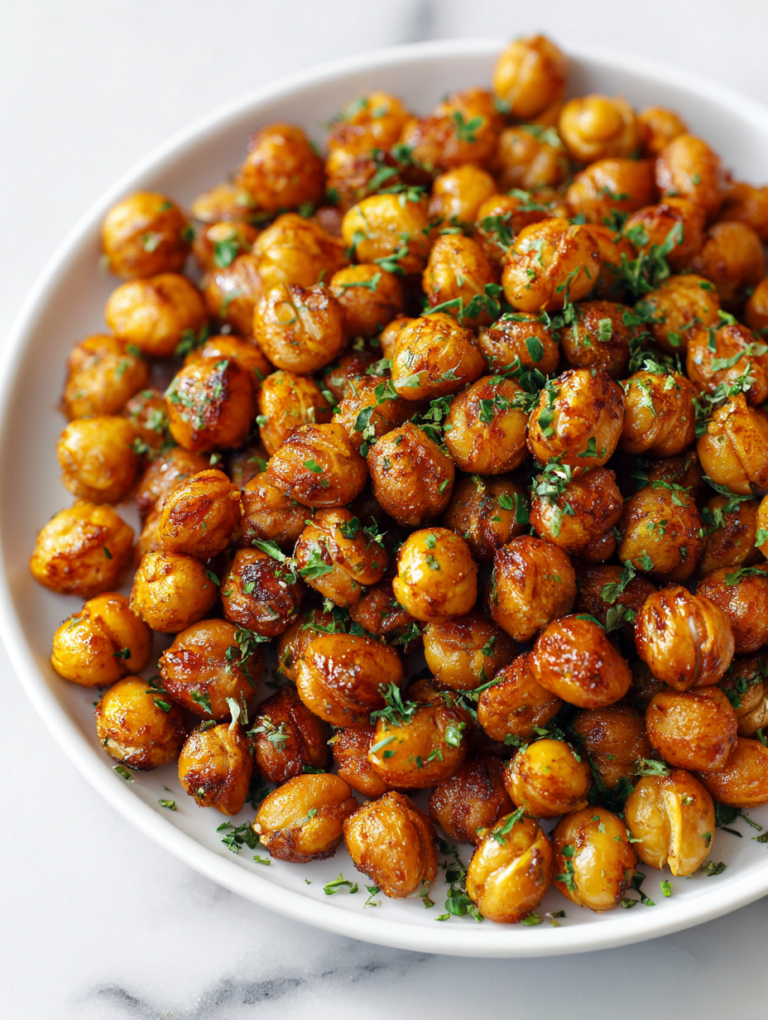
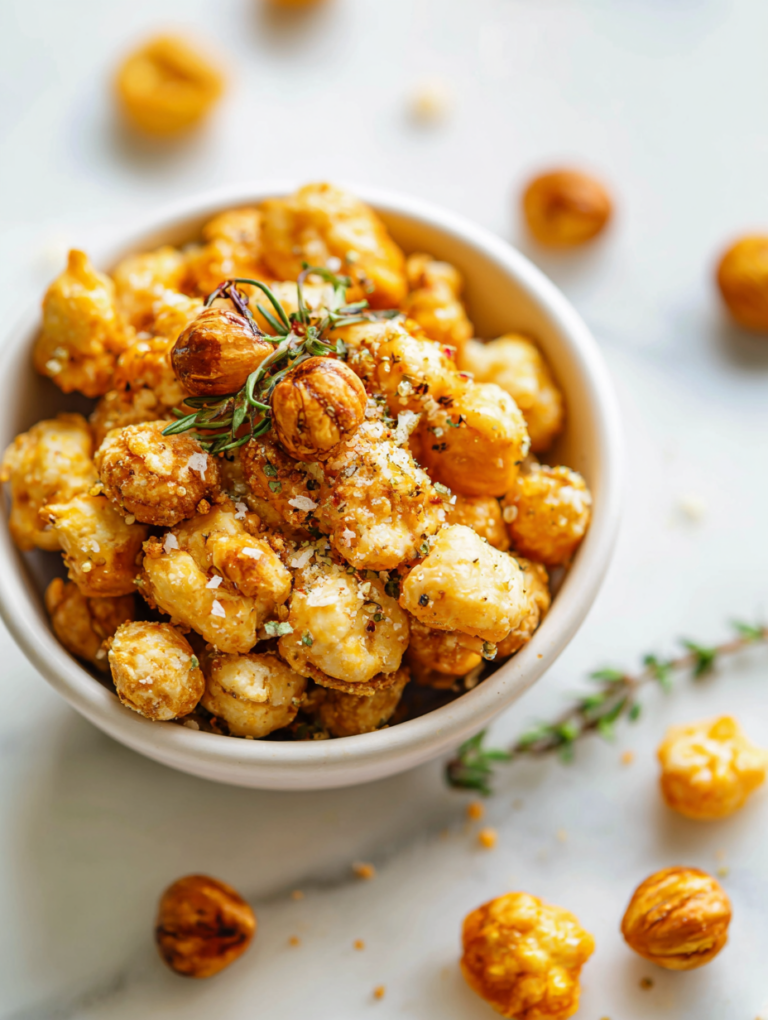
Roasted Chickpea Snack Recipe
Appetizers
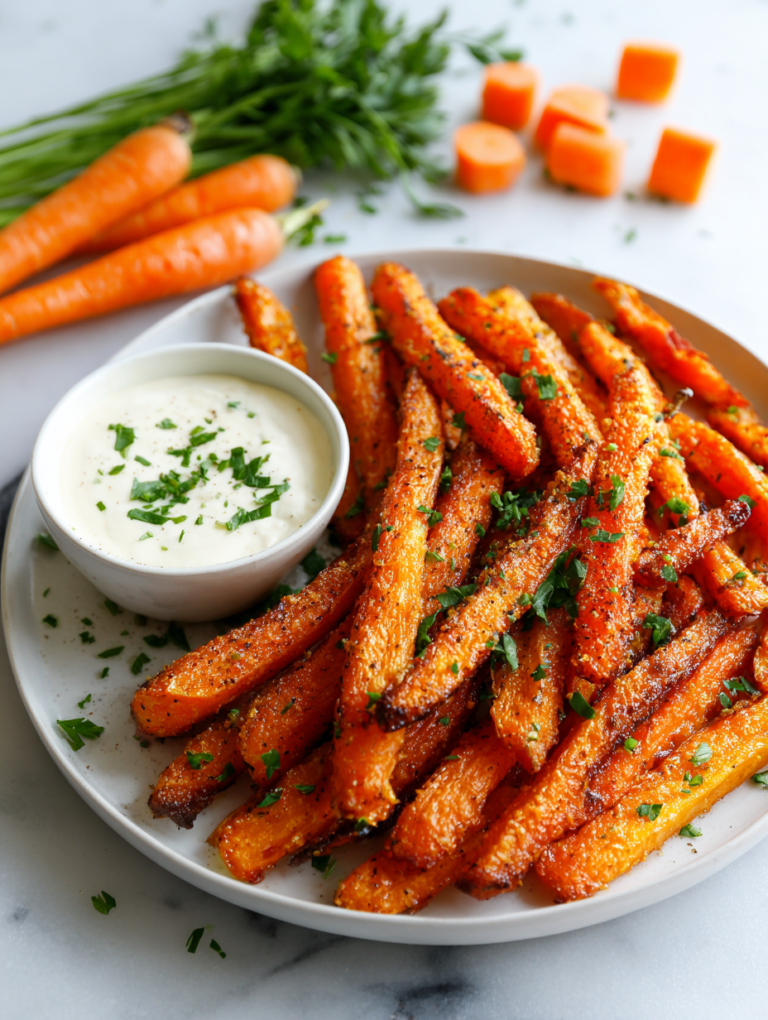
Baked Carrot Fries Recipe
Appetizers
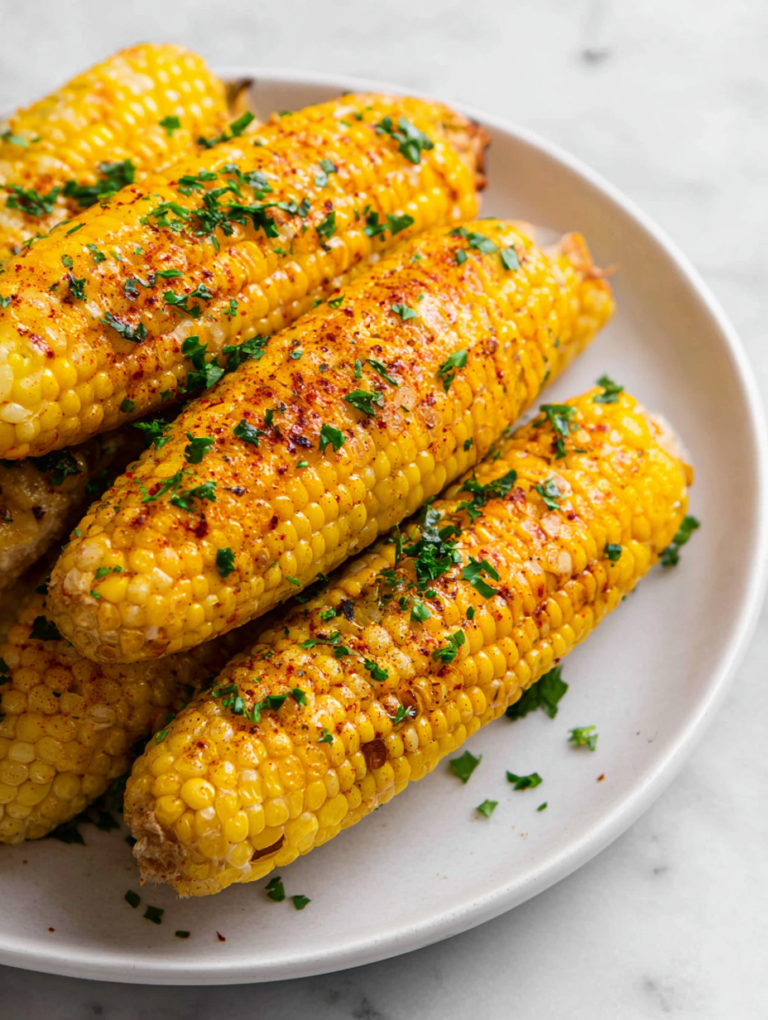
Roasted Corn Recipe
Appetizers
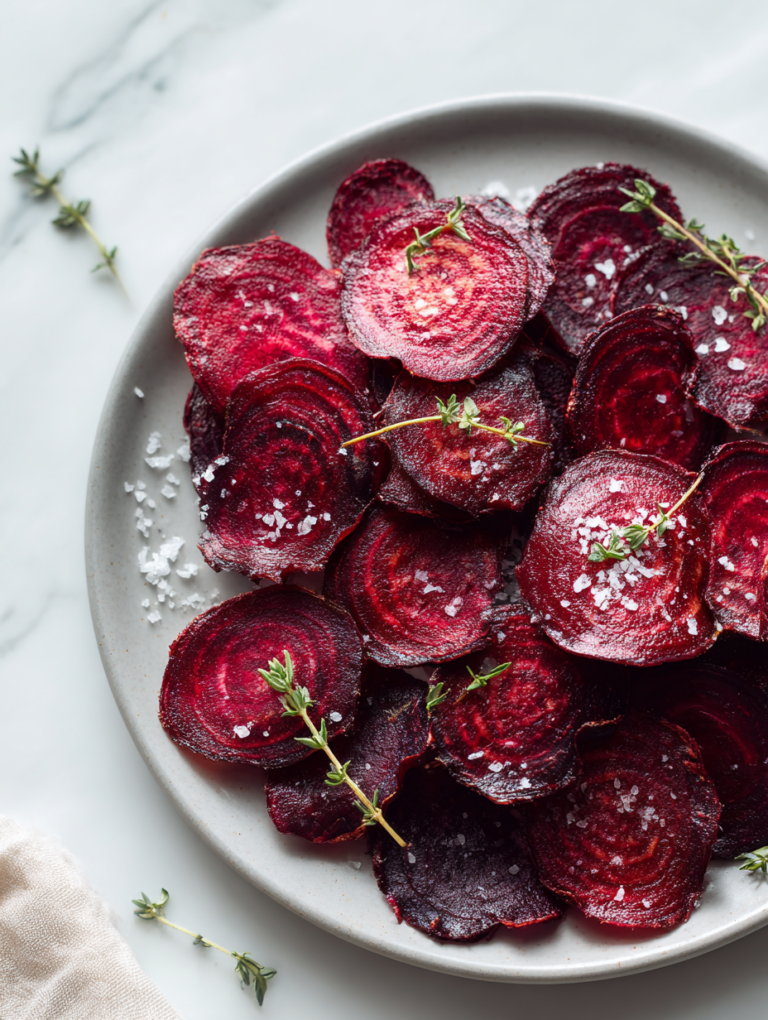
Baked Beet Chips Recipe
Appetizers
Roasted Soybeans Recipe
Appetizers
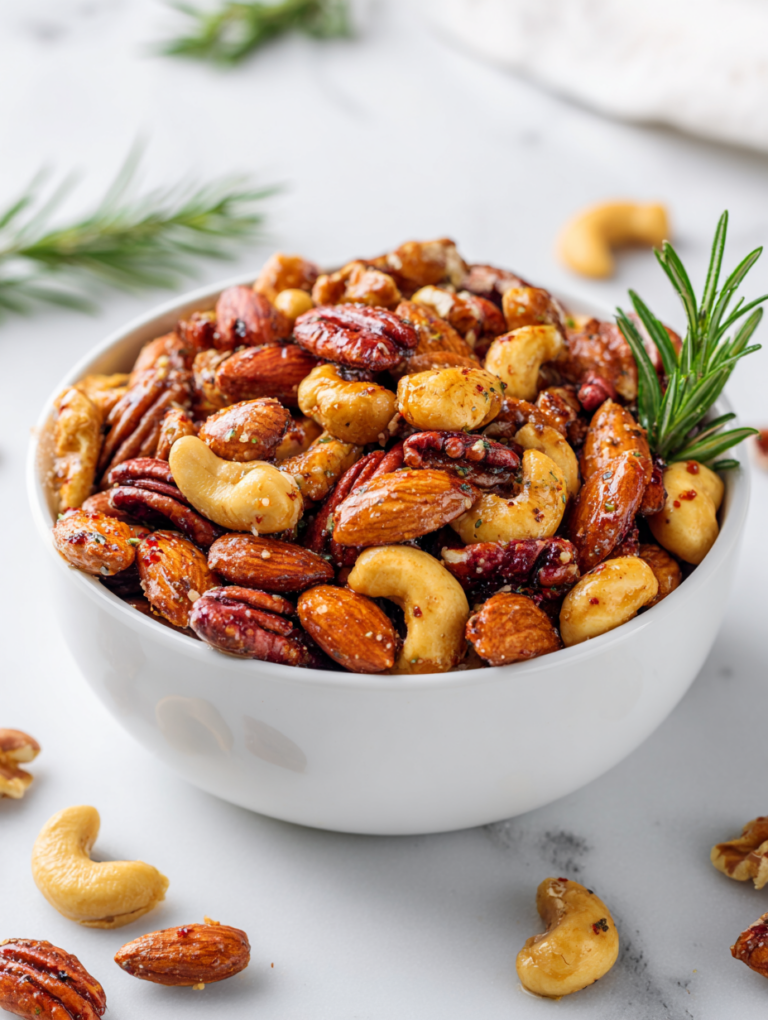
Roasted Mixed Nuts Recipe
Appetizers
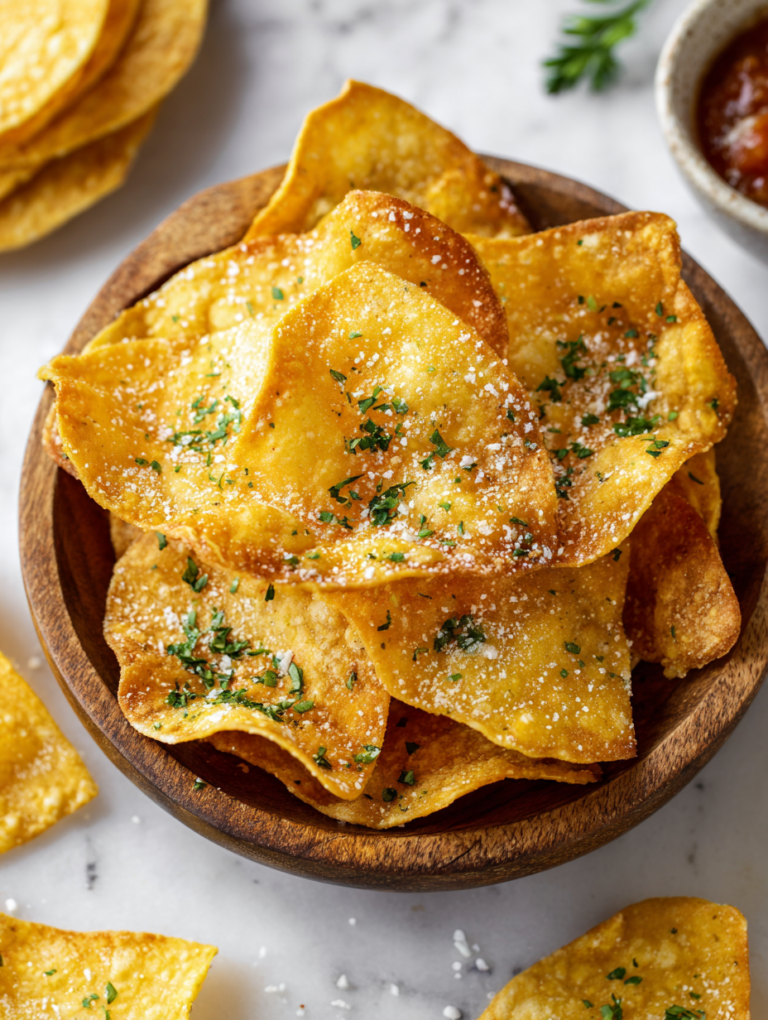
Baked Tortilla Chips Recipe
Appetizers
Roasted Fox Nuts Recipe
Appetizers
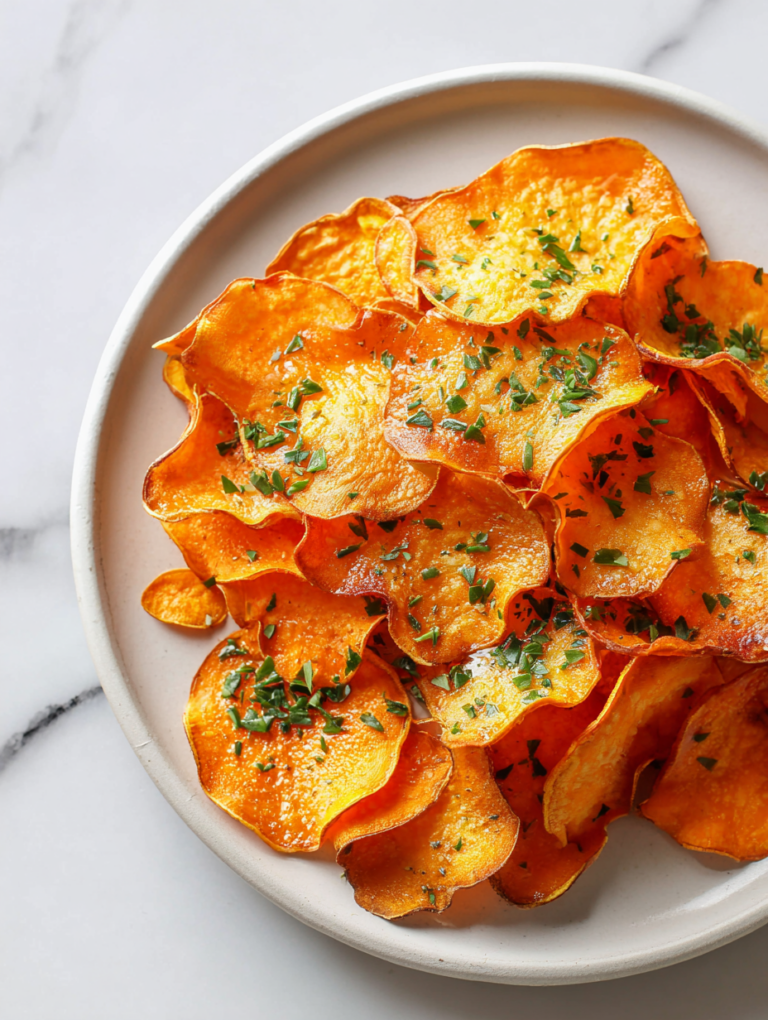
Baked Sweet Potato Chips Recipe
Page navigation
Previous Page
Previous
1
2
3
4
…
9
Next Page
Next
Scroll to top
Scroll to top
Main Course
Desserts
Appetizers
Beverages
Side Dishes
Soups
Salads
Toggle Menu Close
Search for:
Search